Columns
Modular Memoirs Part 3: Putting It All Together
The chronicles of a new Eurorack setup
Now that choosing the case part of the build is settled, it’s time to assemble my very first Eurorack setup.

A typical Eurorack setup includes the basic components of an analog subtractive synth. That starts with at least one VCO (Voltage Controlled Oscillator) to generate the raw synth waveforms (Sine, Triangle, Sawtooth, Square wave, and sometimes Noise). Then there’s a VCF (Voltage Controlled Filter), usually a high-frequency cutoff filter (aka lowpass), coupled with a Resonance adjustment to add bite.
An LFO (Low Frequency Oscillator) can be used to modulate the filter or other parameters to add complexity to the sound. EGs (Envelope Generators) produce an ADSR (Attack, Decay, Sustain, Release) envelope for the outgoing waveform.
A VCA (Voltage Controlled Amplifier) is used to control the amplitude of the sound so that it can start when the keyboard is pressed and stop when the key is lifted, and optionally a Mixer/Attenuator for fine tuning of the final output volume.
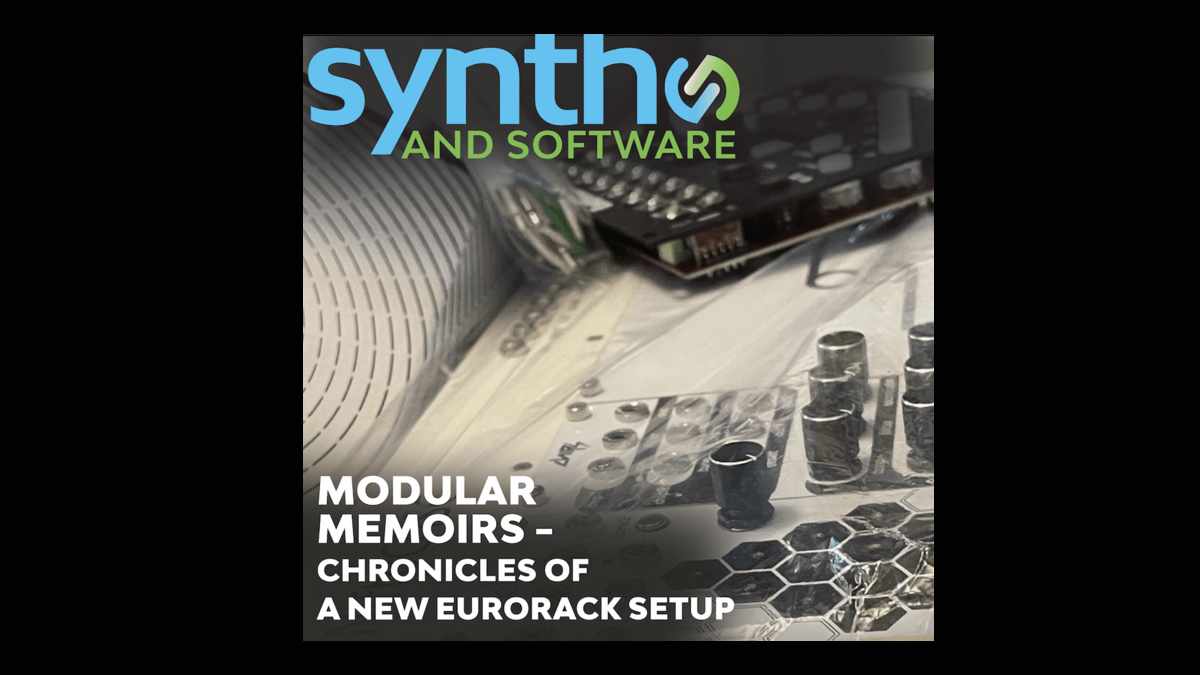
As I mentioned in Part 1, I have a number of modules that should cover my basic needs. Included with the NiftyBUNDLE package is Cre8Audio’s Cells, which is a touch-sensitive 16-step sequencer, and Chips, a dual VCO/dual LFO generator with a lo-fi tonal characteristic. [FIG.2 Cells and Chips]

I will also be using Cre8Audio’s West Pest synth, which I reviewed recently and Misha, a unique interval-based sequencer from Eventide, their first product for the Eurorack format. [FIG.4 Misha]

The Cre8Audio NiftyCASE is an 84HP-sized case. That might seem plenty large for all my needs, but I quickly realized that I won’t be able to fit all of the above modules in it.
The West Pest itself takes up a hefty 40HP of room, which is almost half of the available space – although in all fairness several modules including the VCO, LFO, EG, and VCA are all housed inside the West Pest.

Chips and Cells come in at 12HP each, which if my math is correct leaves me with 20HP of free space. That is, alas, not enough for the 28HP Eventide Misha!
After much pondering I decided to hold off on installing the Misha for now, and instead use Cells to get an initial feel for modular CV sequencing. After I get more comfortable with this setup I will swap out Cells for Misha’s more advanced sequencing features.
Next I set out to hook up all the modules to the NiftyCASE’s internal power sockets. These sockets feature 16-pin plugs, while the modules’ power inputs typically feature a 10-pin socket, which means that most Eurorack modules use a 16-pin to 10-pin ribbon cable for power. 10-pins are typically enough for the modules since the extra six pins of 16-pin socket carry CV, Gate, and a 5 volt rail that is normally not needed.

It turns out that the West Pest needs a 16-pin to 16-pin ribbon power cable. Time to order a different cable from Amazon.

The next consideration how to arrange the modules within the case. Since the West Pest’s modular input and output jacks are located on the right side of the front panel, I think it would make the most sense to place the West Pest first on the left side of the case, and add the two other modules to the right of it…right?

However, the NiftyCASE’s audio jacks, which route the modules’ outputs to the main output on the back of the case, are located on the top right side of the case. So perhaps placing the WestPest underneath them is what would make the most sense?
Decisions.

Ultimately I ended up favoring a shorter cable run from the West Pest outputs to the NiftyCASE audio jacks to keep the audio signal as pristine as possible. I also surmise (possibly incorrectly) that the CV signals will be less affected by noise and interference than the audio signal. That is probably paranoid, but I was always taught that shorter audio cables are better, so I’ll stick to this plan for now.
And with that, my very first Eurorack set up is complete.

With all the modules plugged in and powered, it’s finally time to hook the NiftyCASE to my computer through the USB port, fire up my DAW, and see what this baby can do… which I will tell you all about in Part 4!


Arturia Rev OCEAN – a Big, Evolving Reverb Ambience Processor

Cherry Audio Releases an Ensoniq ESQ-1 Synth in Software (updated with 2026 features)
Gforce Software Releases Official Prophet 5 Plug-in with Sequential

Arturia’s New MiniLab 37 MIDI Controller

Novation’s Launchkey 61 MK4 White Keyboard Controller With Five Octaves
Arturia’s New MiniLab 37 MIDI Controller

When In Rome…

Introducing Absurdly Quiet Piano Pro

New From AAS – Organix for Chromaphone


